Recently a friend asked how hard it was to replace the CMOS battery in Korg DW-8000 keyboard. I assumed it couldn’t be that hard, looked up what kind of battery it accepted (CR2032) and said “yeah, 5 minute job”. I failed to take into account early 80s circuit construction. Sure, its no Maestro PS-1B Teardownx, but I certainly discovered some “opportunities” upon cracking open the case…
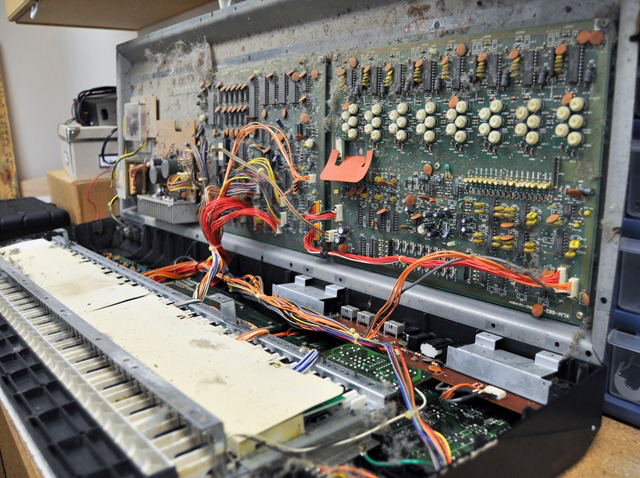
Getting it open is easy enough. As with any device built before the iPod age there are far too many screws… 2 in each corner, several straight up the middle, a bunch to hold the rather flimsy keyboard tray in place. etc. NOTE: To open this thing, you need to turn it upside down, make sure you support the bottom right corner so the joystick doesn’t get smashed.
Once open, you’re probably presented with a ton of dust and 3 filthy circuit boards populated with far-from-RoHS compliant components. Dead center in the 2nd board is the battery…
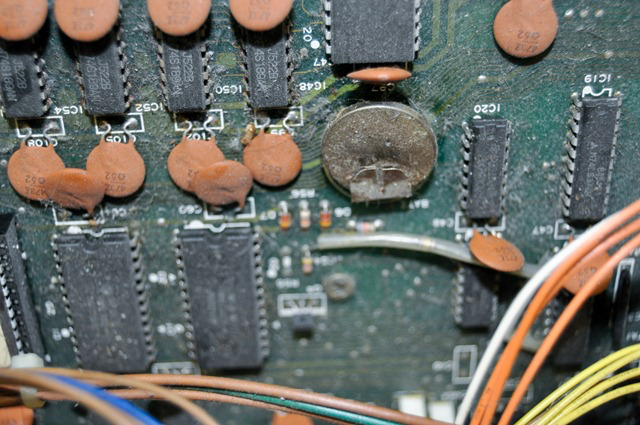
…which is soldered to the board.
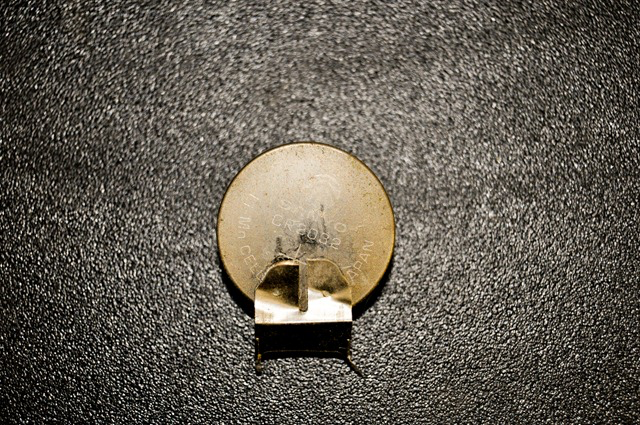
This probably only sounds ridiculous to me, but really, who solders a consumable part directly to the board. Honestly, this kind of thing calls into question the entire circuit design. I got the dead little bastard freed from its pinholes and went to grab another battery holder. I was pretty certain I wouldn’t be able to find a holder with the same pin out, so I opted to get whatever CR2032 battery holder I could find and shoehorn it in there.
I found some suggestions on the internet for doing this, one involved adding some extra wires to the pins of the holder and running them under the new holder. After examining the board I decided a more stable replacement would be to drill another hole inline with the positive lead circuit trace. This is better explained with pictures:
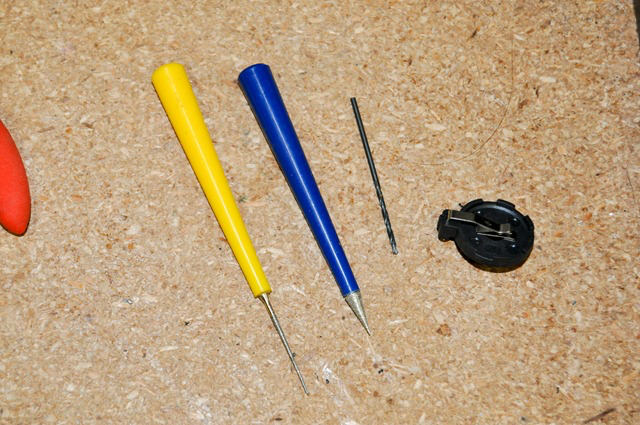
Grab the tools you need. The battery holder (RS 270-009), a couple of reamers, and a tiny drill bit. You can go with just the drill bit, but if you need to widen any holes I like these little reamers.
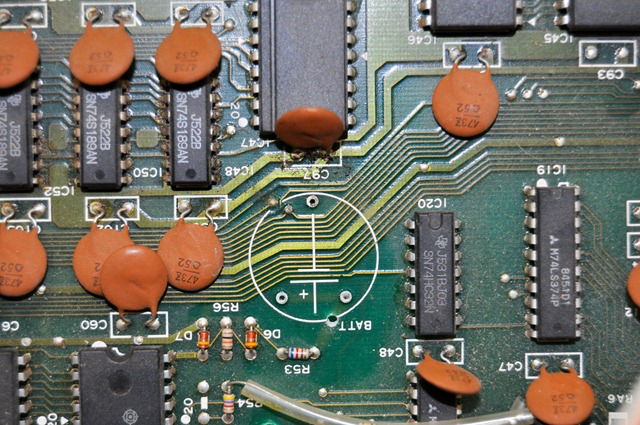
Look for a spot around the battery circle that is still sitting on the positive lead on the reverse side of the board. Its easy to see through the board to spot the lead, and for me the hole was right next to the T in “BATT”. In this picture the hole has already been drilled.
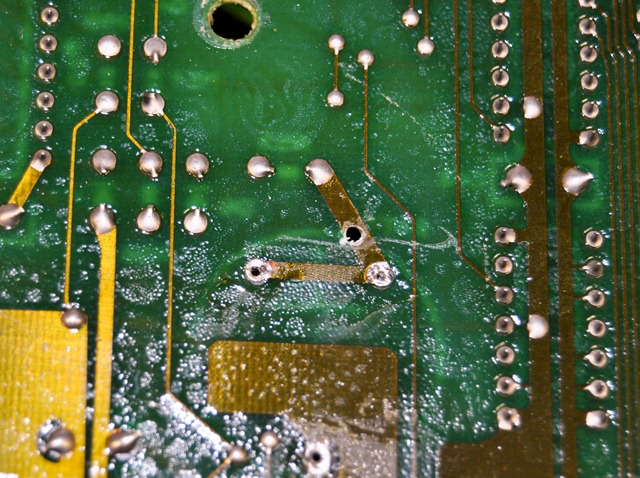
Start drilling on the reverse side, at least enough so that the lead won’t tear when you drill through on the other side.
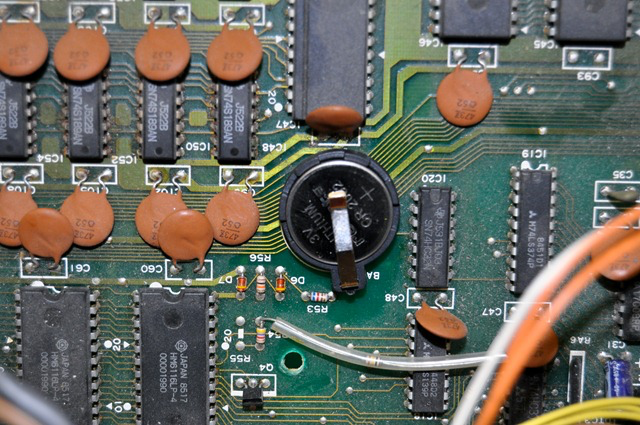
Mount and solder the battery holder (making sure that the polarity is correct), then insert the battery. Done.
No sweat, but certainly not a 5 minute job. The moral of this story? If you’re designing a circuit with a replaceable part (like a battery), please don’t solder it directly to the board.